
In the first article in this series, Mastering Business Connectivity Services in SharePoint 2010 – Part 1
we created a BCS connector using the Visual Studio Template. In this
article, we will create a connector to a database using a web service as
the interface to the database. The web service will use LINQ to SQL as
the Datacontext. You will need a SQL Server database to create a
customer table, and an IIS server to deploy the Web Service outside of
the SharePoint installation-and of course a SharePoint Site to create
the interactions and Lists required for this article. Let’s begin:
BCS to Customer Connector
Step 1: create the customer Table-Database Script:CREATE TABLE [dbo].[Customer_BCS](
[CustomerID] [int] IDENTITY(1,1) NOT NULL,
[CustomerName] [nchar](50) NULL,
[CustomerEmail] [nchar](50) NULL,
[CustomerRegion] [nchar](10) NULL,
[CustomerFY08Sales] [bigint] NULL,
[CustomerFY09Sales] [bigint] NULL,
CONSTRAINT [PK_Customer_BCS] PRIMARY KEY CLUSTERED(
[CustomerID] ASC
)
WITH (PAD_INDEX = OFF, STATISTICS_NORECOMPUTE = OFF,
IGNORE_DUP_KEY = OFF, ALLOW_ROW_LOCKS = ON,
ALLOW_PAGE_LOCKS = ON) ON [PRIMARY]
) ON [PRIMARY]
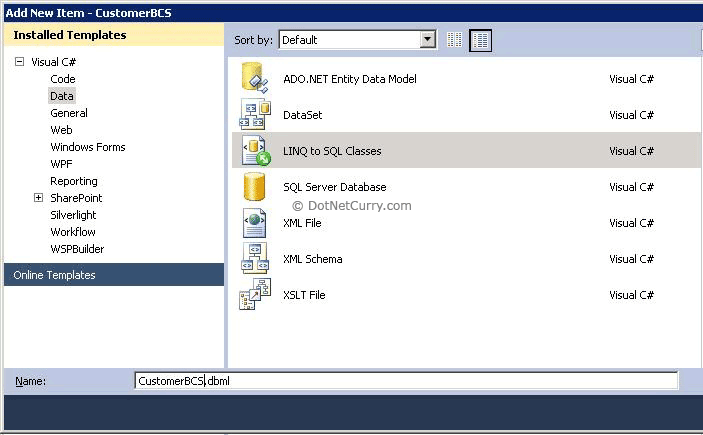
Step 2: Create the web service and LINQ to SQL Object:
Create a web service
project in Visual Studio and add a LINQ to SQL object to the projects as
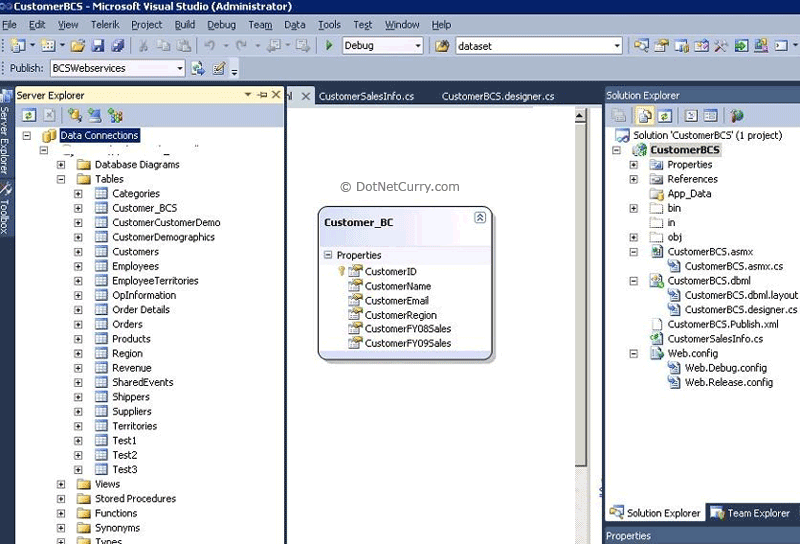
shown below: Drag the Customer_BCS table created above from the server
Explorer to the LINQ to SQL canvas as shown below:
Note: Here is the link to the source code for all the projects in this Article.
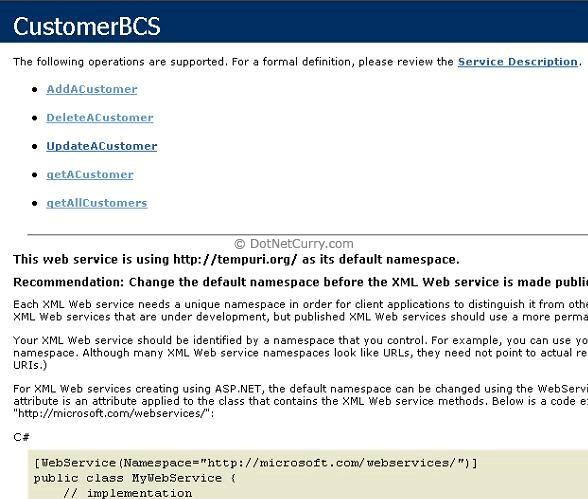
There are 4 methods in
the web service to perform CRUD operations on the customer Table which
we will access from our BCS project- Here is the source code for one of
those methods: Refer to Article 1 to create the methods required in the
example: Mastering Business Connectivity Services in SharePoint 2010 – Part 1
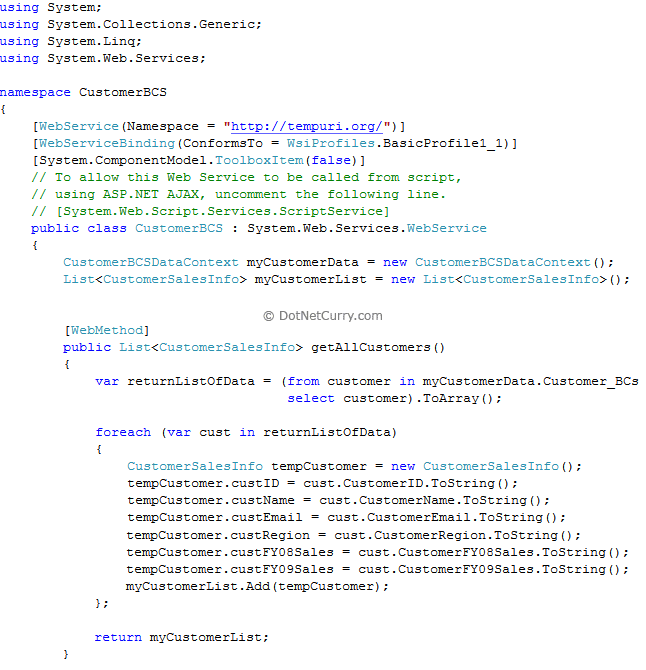
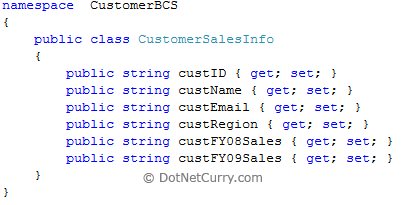
One of the keys here
lies in the class CustomerSalesInfo as you will pass this object in and
out of the webservice form your connector project
After you have
completed creating the web service, deploy it to an IIS Server that can
be located from the BCS Connector project below
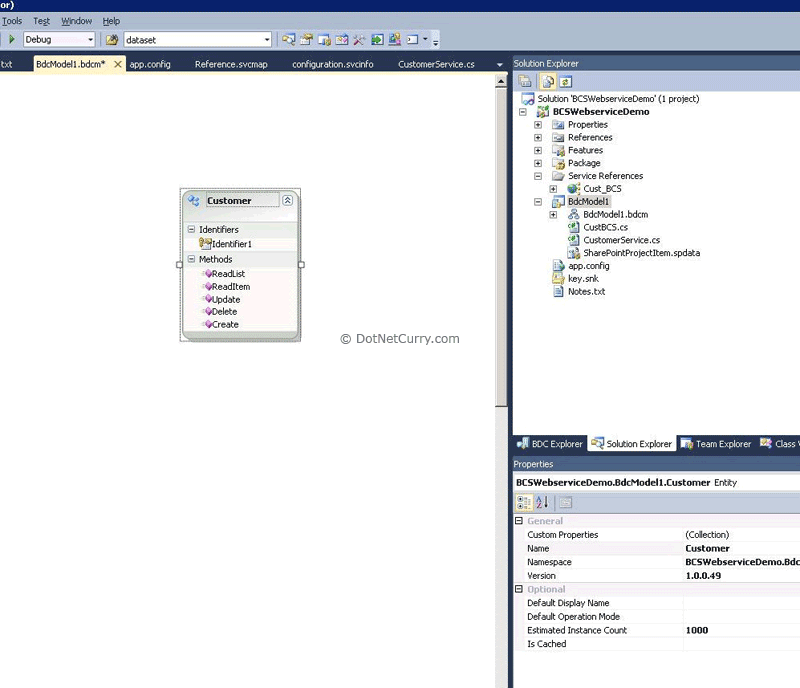
Step 3: Create the connector Project in Visual Studio
Set a web reference to the web service as shown above. Then create the methods for the customer
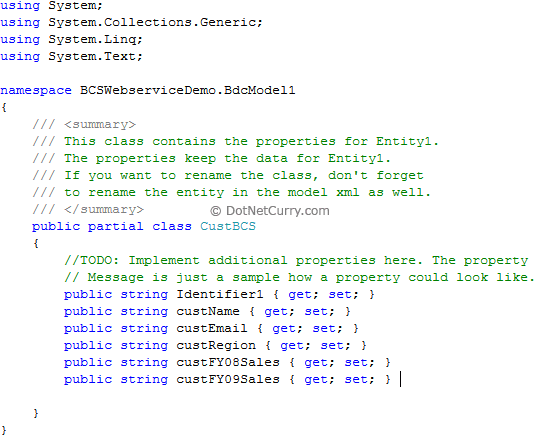
Here is the class for the customer Object:
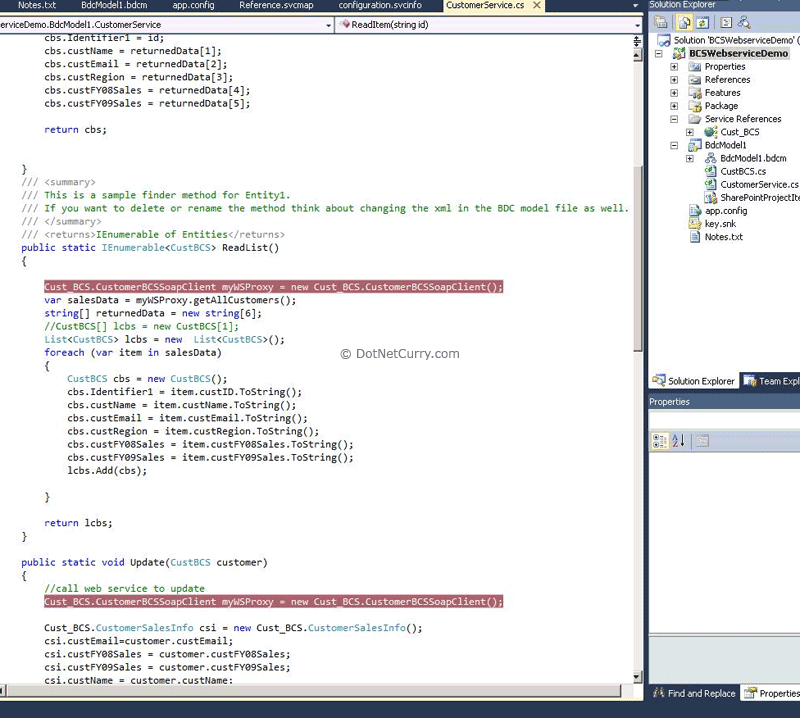
The call to the web service and the implementation to the Connector are shown below:
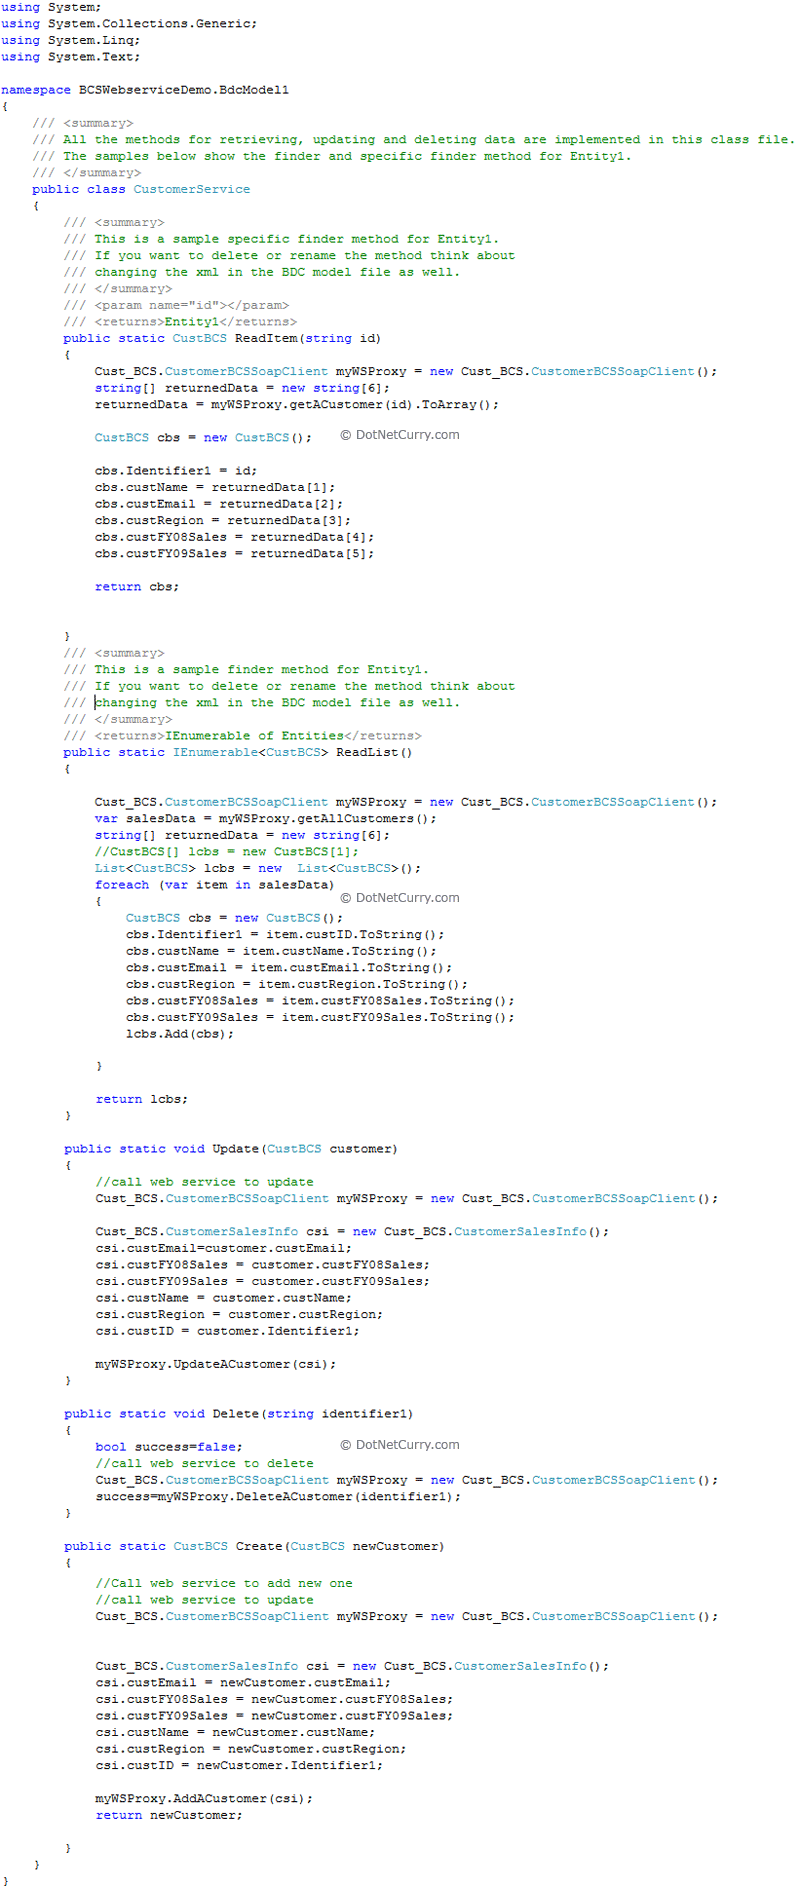
The key to the code
that makes the whole process work is the objects for the LINQ to SQL and
the Object for the web service: If you study the above code carefully, I
think you will find that it is pretty easy to understand- and more
importantly, it is pretty standard across all of the connectors created
this way. That is, by using a web service and LINQ to SQL to do the CRUD
operations on the Database Tables.

Use the sample code
provided to compile, run and debug the code for a better appreciation of
what is going on in the different classes.
Deploy the solution to Sharepoint and the connector should be ready to use.
Here is the endpoint
that Visual Studio created when I added a web reference to the connector
project- you will need to add a similar entry to your SharePoint
web.conf:

Note:
Here are some things to consider when deploying the full solution and
are were required to make the solution run end-to-end without error:
Web Service:
Place Web Service on non-SharePoint site (for this example)
Add endpoints to web config on Sharepoint site for web service
Change web config on SharePoint to NTLM for above service
Add endpoints to web config on Sharepoint site for web service
Change web config on SharePoint to NTLM for above service
SharePoint:
Create/Add default forms for new and update methods in SharePoint designer
Add new methods for above to BCS connector
Add new methods for above to BCS connector
SharePoint:
Make Identifier read only on Read list and Read Item in the designer
On BCS Model: Set identifiers as update methods: updater field Preupdater fields to true
On BCS Model: Set identifiers as update methods: updater field Preupdater fields to true
Database:
No changes- just create table
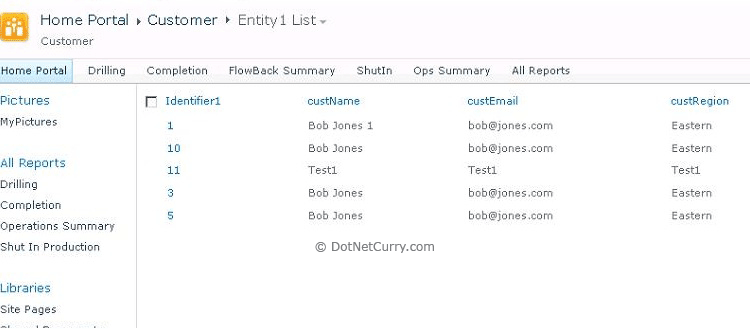
Step 4: Create External List in Sharepoint
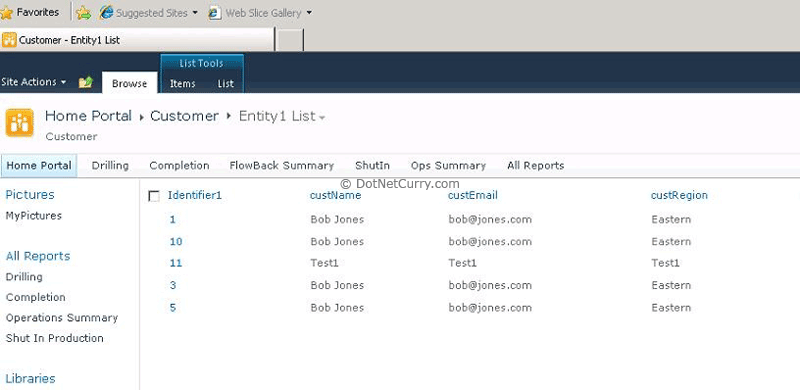
Refer to article one on how to create the external in SharePoint: http://www.dotnetcurry.com/ShowArticle.aspx?ID=632-
of course the data in the list will be different from what you see
above, as you can add test items to the database when you create it.
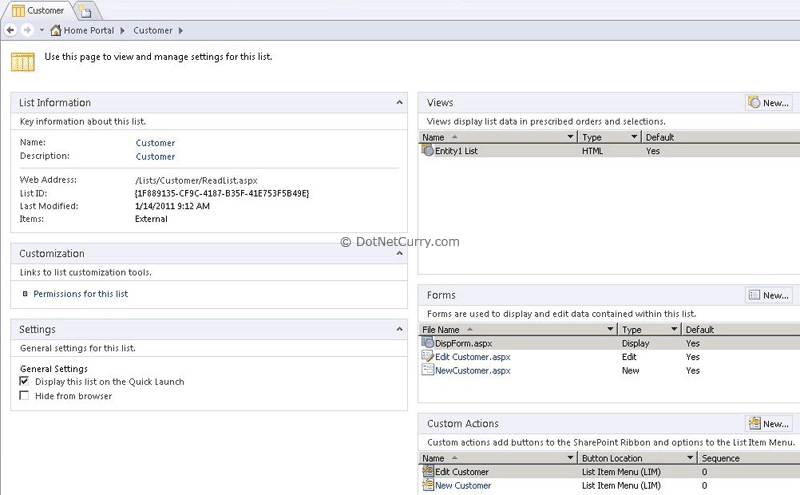
Step 5: Create default forms in SharePoint Designer:
Notice in the form
section that I have added 2 now forms to edit and add new customers and
will be used by SharePoint as the default forms- if you don’t do this
step you will get an error when you try to add or edit the customer
list.
Step 6: Add, Update and Delete Data from the List created above
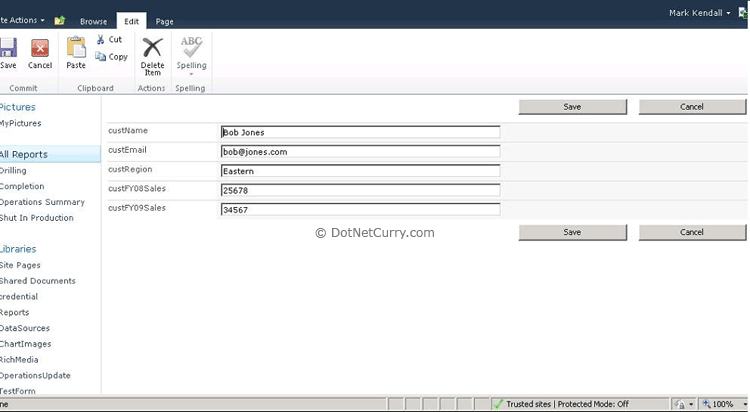
Notice how the custname changed to Bob Jones 1 when the record was edited in SharePoint:
Summary
Congratulation, you
have now created a fairly complex piece of software that can serve as a
template to your own connectors to your own data sources.
With SharePoint, though, there are many moving parts that have get used to and it will take some time for you to master all the elements, but this is definitely a good start!
With SharePoint, though, there are many moving parts that have get used to and it will take some time for you to master all the elements, but this is definitely a good start!
Part 2 of this series
showed you how to create powerful custom connectors that are connected
to a database via Web Service Calls. I will continue to create articles
that will illustrate the powerful features of BCS.
No comments:
Post a Comment